Ulanzi Smart Pixel Clock

Zu einem vernünftigen Preis zu haben ist die Ulanzi Pixel Clock, die hier https://www.mydealz.de/visit/threadbeldesc/2232719 oder über Ali zu bekommen ist und hier kurz vorgestellt wird Im verlinkten Beitrag sind die wichtigsten links bereits zu finden. Das geniale ist, dass es ein Projekt “Awtrix” gibt dass es einfach darüber geflasht wird und das Teil damit für so ziemlich alles öffnet.

Das mitgeliefert System habe ich gar nicht angeschaut und sofort Awtrix Light grflasht. Danach lässt sich das Teil über MQTT oder http oder ioBroker ansteuern. Da ich bereits ioBroker auf meiner Synology laufen habe, habe ich mich für dafür entschieden, und nach ein paar Anläufen lief das Teil.

Im Moment zeige ich den Stromverbrauch und die erzeugte Solarenergie an um z.B. hau entscheiden ob es Zeit ist die Spülmaschine o.ä. anzuwerfen.

Weiter werden die nächsten 3 Fahrten (und die Verspätungen dazu) nach München angezeigt.

Temperatur und Regenprognose folgen noch. Ebenso wie Warnhinweise auf offen gelassene Türen und Fenster.

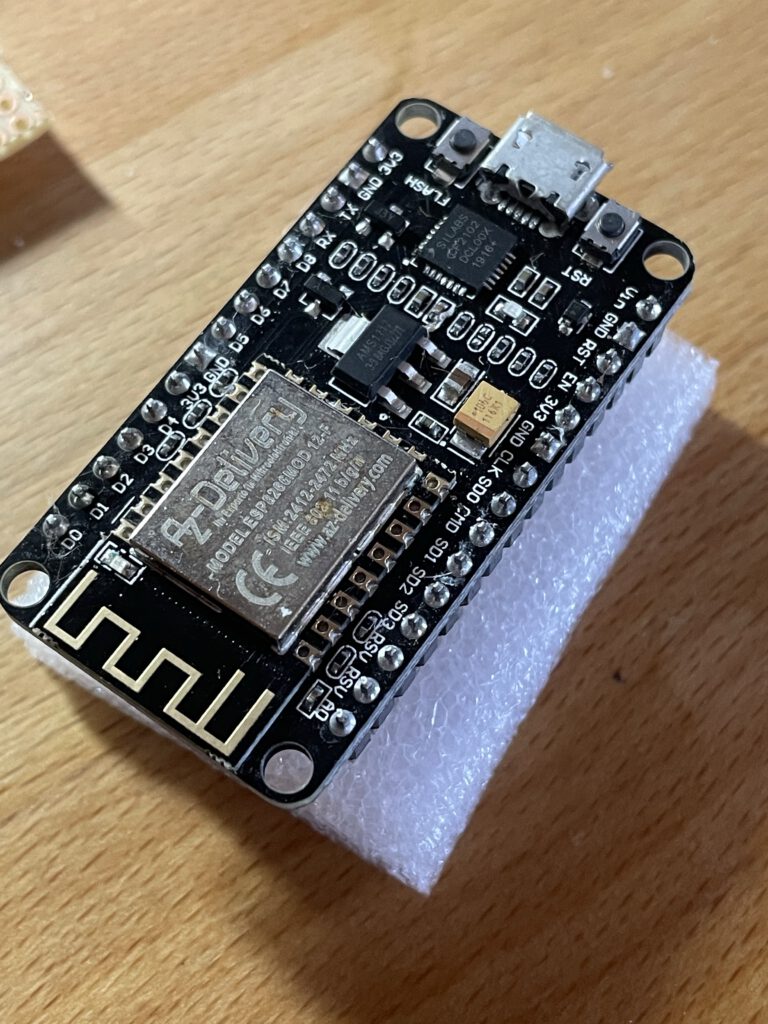
NodeMCU deepSleep Fehler vermeiden

NodeMCU

Während meiner Versuche mit dem NodeMCU und deepSleep stieß ich auf zwei Fehler die man machen kann, aber nicht sollte. Der erste lies mich den Baustein nicht mehr mit neuem Code bespielen. Der Grund ist, dass der Baustein während er im deepSleep Mode ist, sich nicht mehr flashen lässt. Die Lösung des Problems ist hier beschrieben:

Solution: https://forum.arduino.cc/index.php?topic=613412.0

You do not say what version of ESP8266 your using but if it has two buttons on the module (maybe called Reset & Flash) then hold down the flash button, briefly press the reset button and then after a second or two release the flash button. This should put the ESP into programming mode where the built in bootloader is running instead of your sketch.

Is there any other method putting the Wemos into programming mode instead of the second (flash) button?
Connect GPIO0 (that I think is pin D3 on the D1 Mini) to GND and then press the reset button.
You may also need to remove the D0-RST link but I’m not sure.

Der andere schwierig zu findende Fehler war, (vor lauter Begeisterung vergessen 😉 ) abzufangen, falls mal keine Verbindung zustande kommt. Hier ganz einfach mit dem Zähler tries behoben. Ansonsten geht er in Endlosschleife …

//connect to your local wi-fi network
WiFi.begin(ssid, password);/check wi-fi is connected to wi-fi network
int tries = 0;
while (WiFi.status() != WL_CONNECTED) {
delay(1000);
Serial.print(".");
tries++;
if (tries > 10) {
// wenn keine verbindung gelingt
Serial.println("No WiFi! Gonig to Sleep");
ESP.deepSleep(10e7);
}}
Serial.println("");
Serial.println("WiFi connected..!");
Serial.print("Got IP: "); Serial.println(WiFi.localIP());

Arduino mirror image, orientation problem with display MAX7219

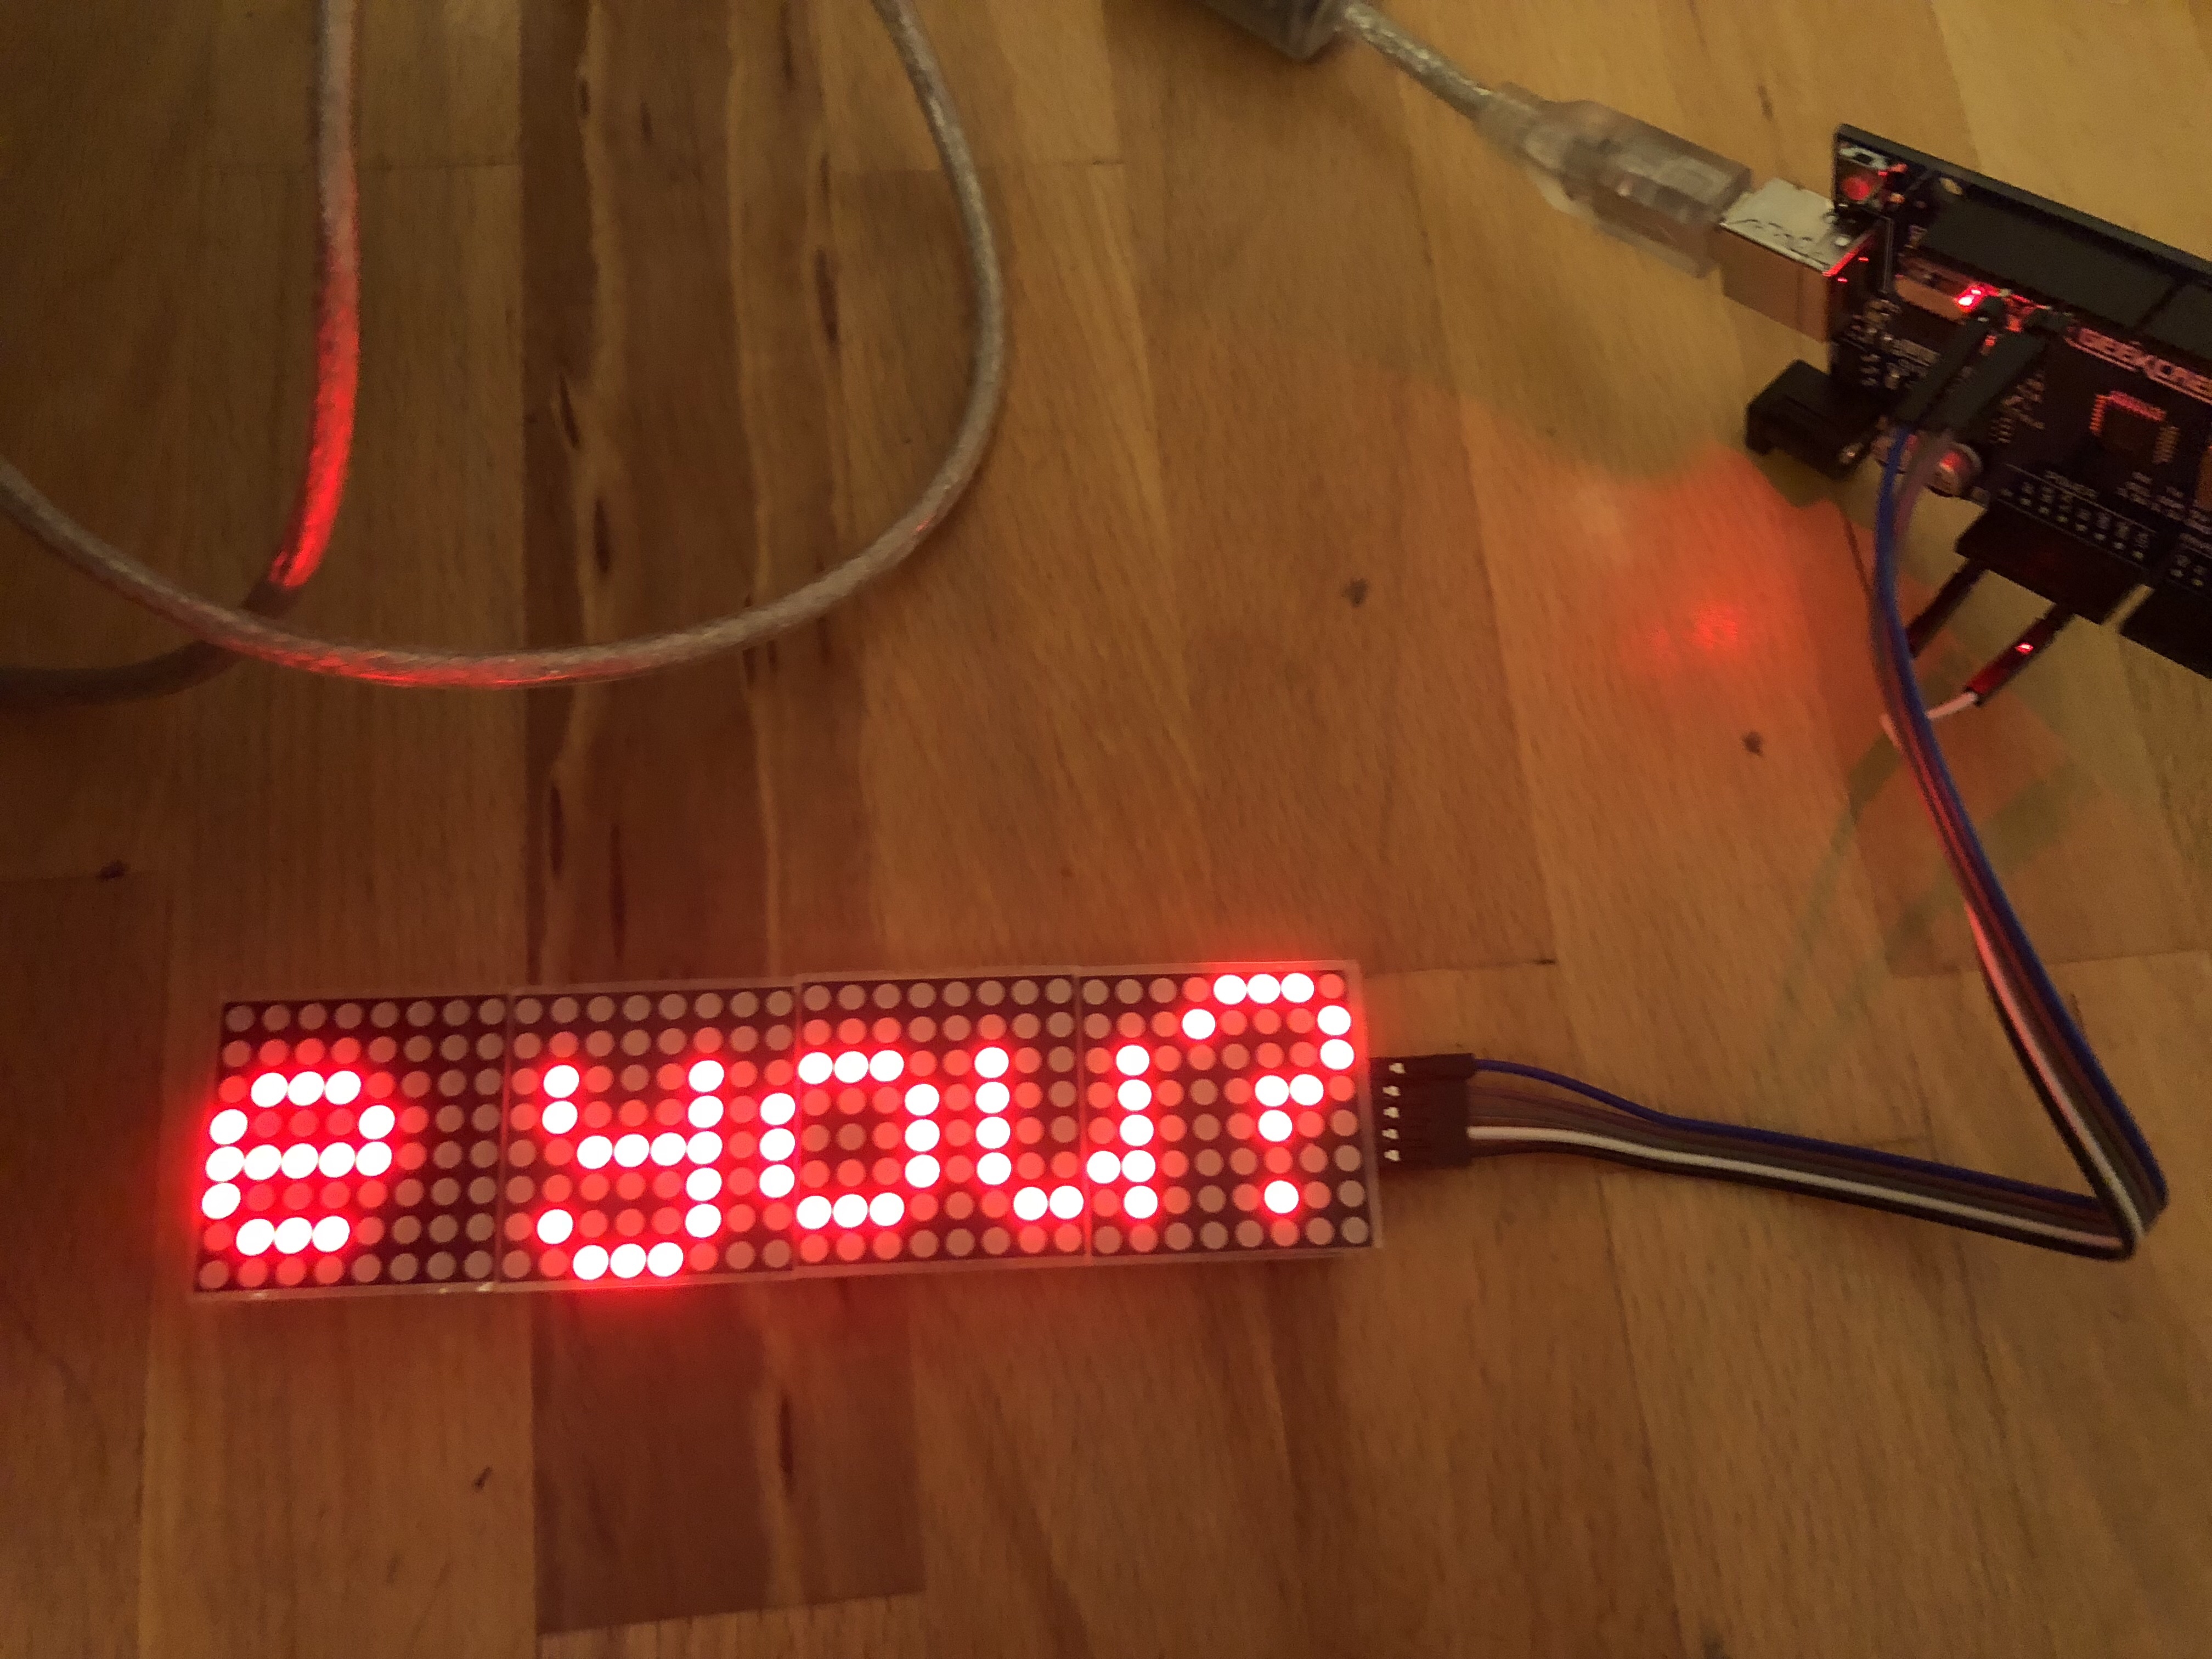
How to use MAX7219 LED Matrix with Arduino

Good Libraries to use with the MAX7219 LED are:
https://github.com/MajicDesigns/MD_MAX72XX LED
https://github.com/MajicDesigns/MD_Parola Scrolling

You’ll find lot’s of examples after you install the libraries in the Arduino IDE.

Arduino mirror image, orientation problem with display MAX7219

How to solve problem with the LED matrix MAX7219 and the MD_MAX72xx.h Library

If you have problems with mirroring and/or orientation find following line and try following solutions, Choose one:

#define HARDWARE_TYPE MD_MAX72XX::FC16_HW


#define HARDWARE_TYPE MD_MAX72XX::PAROLA_HW


#define HARDWARE_TYPE MD_MAX72XX::GENERIC_HW


#define HARDWARE_TYPE MD_MAX72XX::ICSTATION_HW

Binding Blade Inductrix FPV pro with Spektrum DX6i

I had problems with binding my new Blade Industrie FPV Pro to my Spektrum DX6i. Looked like it bonded, but nothing happened. This helped my out: link to forum.

So what to do:

You have to adjust (all) the travel to max (here 125%). Note: Use the sticks to switch between high and low. The other thing is to arm the motors: Switch flaps on and off after 2 seconds.

Hope this helps


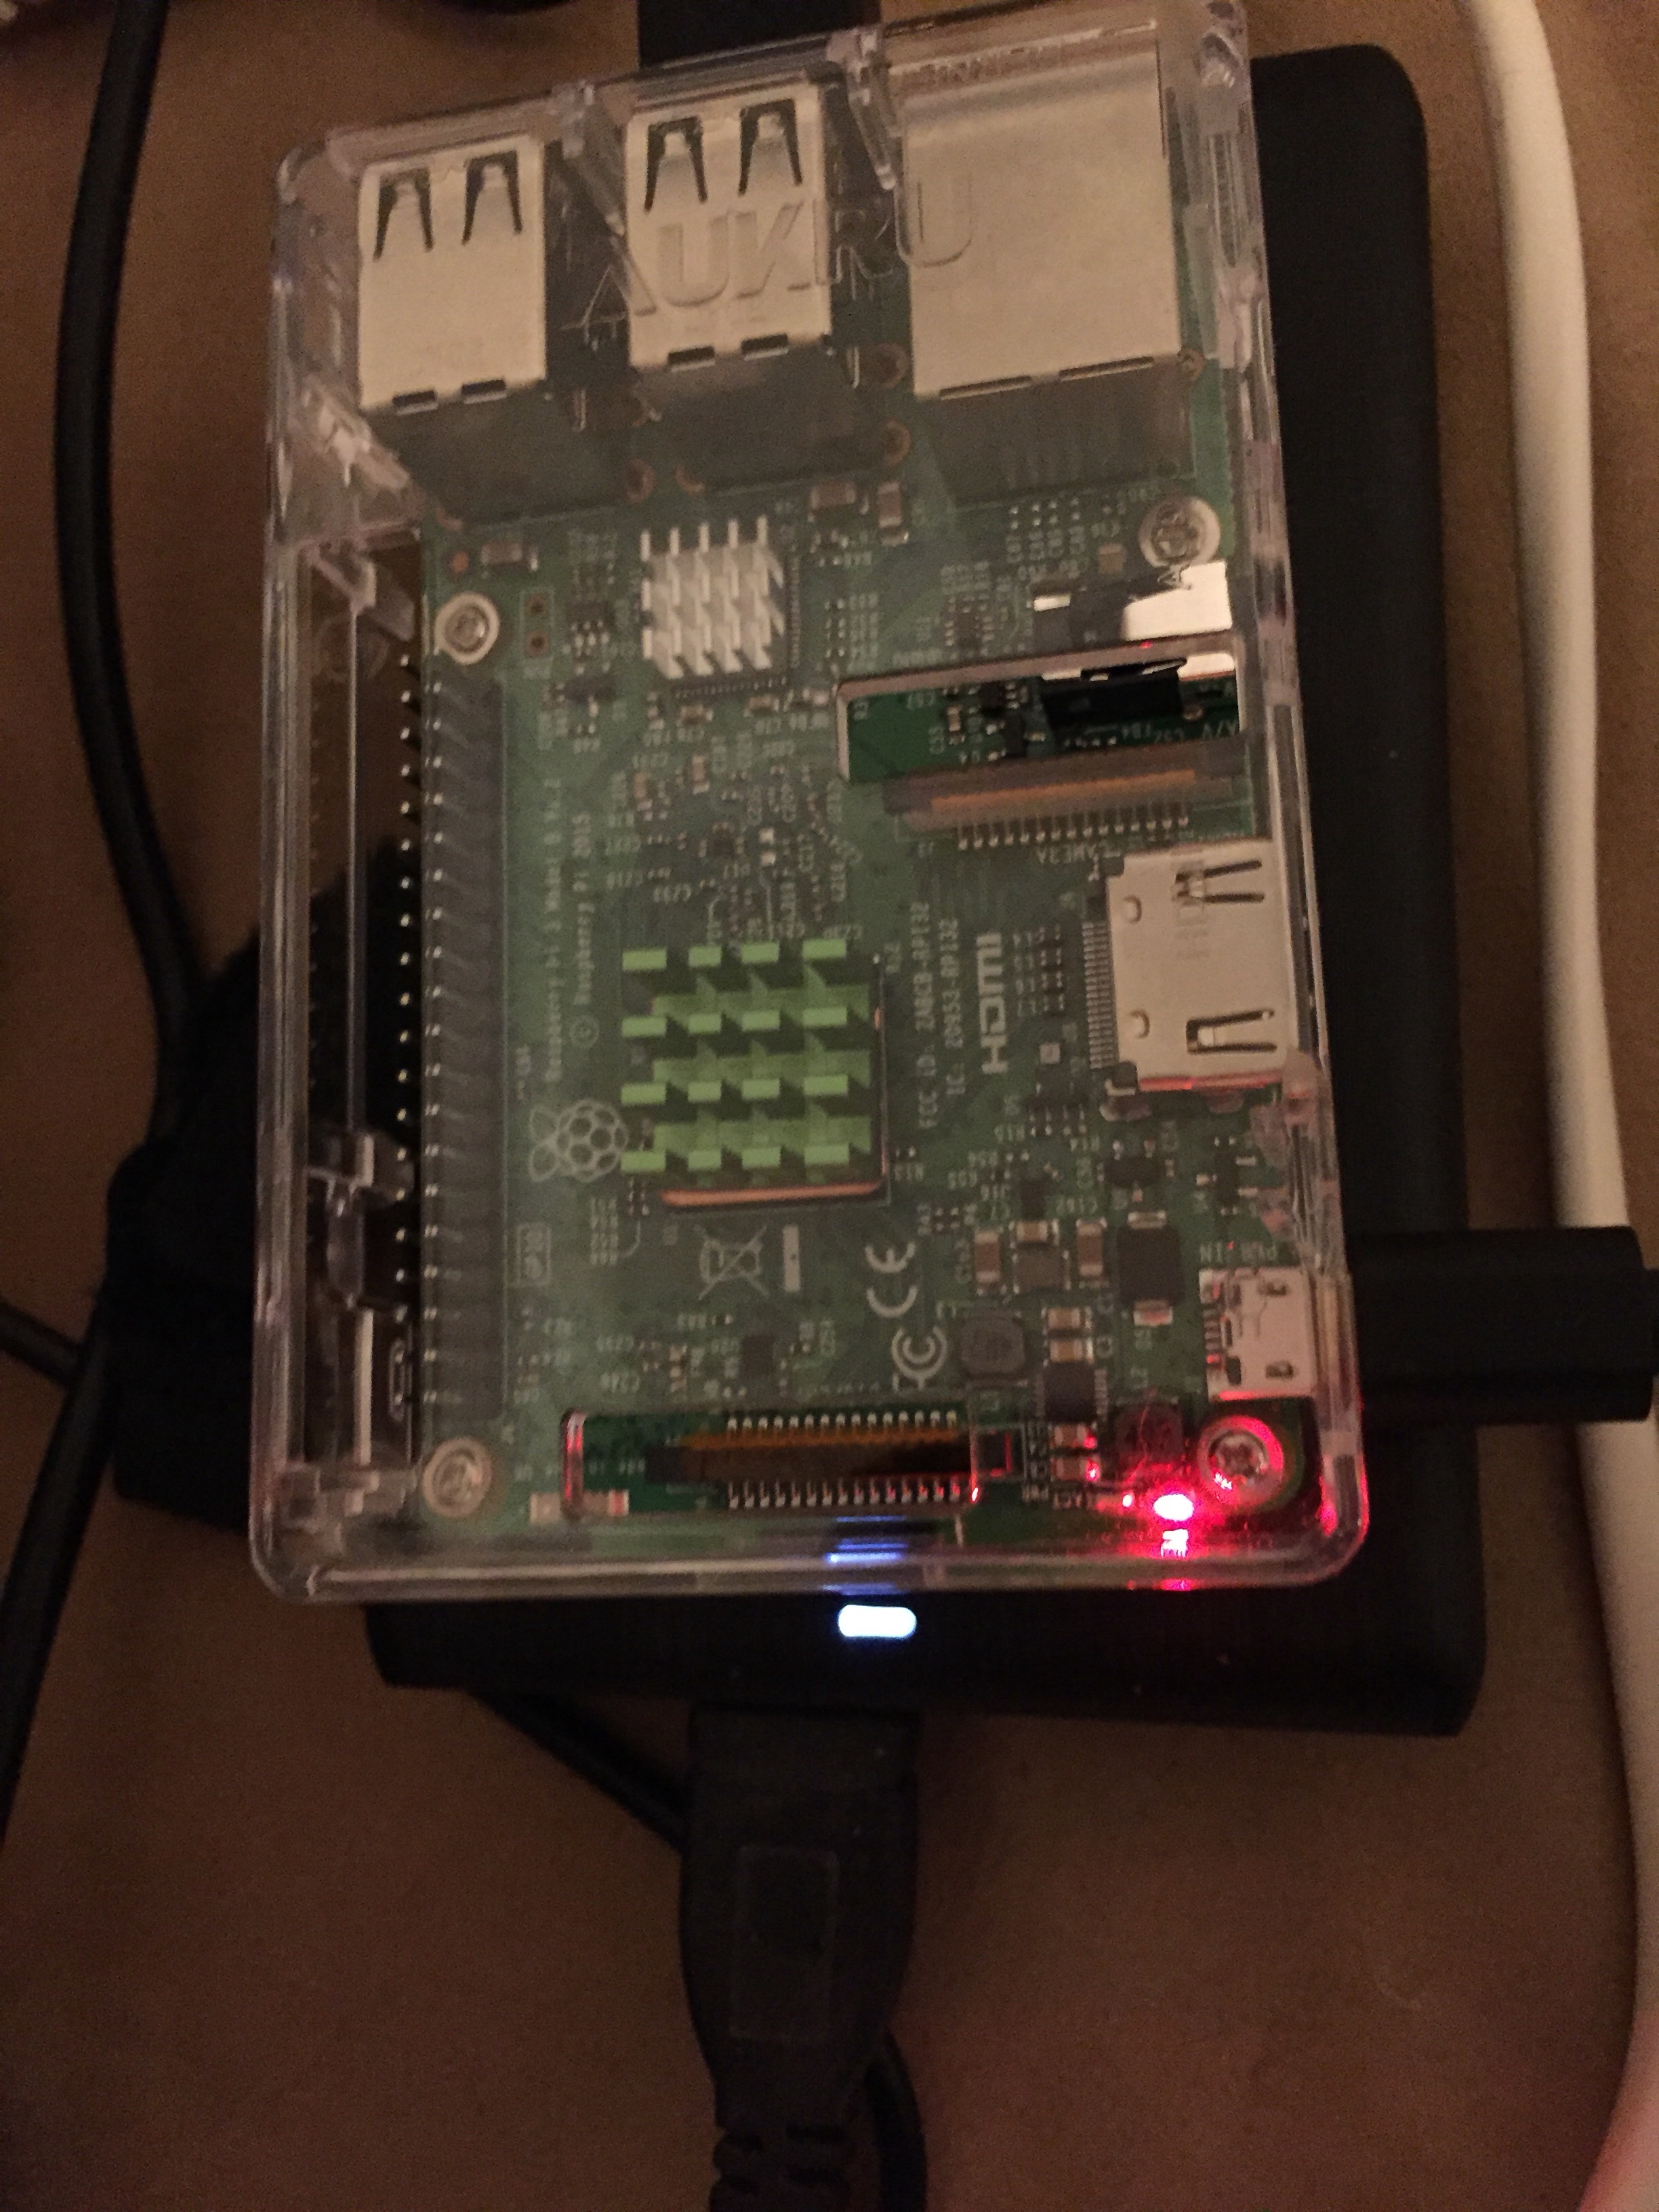
Raspberry Pi as NAS with OpenMediaVault and Wifi

Be warned, the Raspberry Pi with wlan is a slow nas. But I wanted to build one and there are no full instructions for it. So here are the steps to follow.

I used this instruction, but some things are missing and so I put everything down in short form:

Download the OMV Image here.

Use Etcher to flash it on SD card.

Insert card into raspberry, connect network cable. Wait (!) not only wait for the first time login, wait.. Raspberry upgrades in the background. Just do nothing(!) and wait more. About 10 to 40 min till the raspberry reboots again!

Now, login for the first time as root. Change Password.
Change Keyboard Layout if you don’t use english one:

dpkg-reconfigure keyboard-configurationcheck if your Wifi works:

ifconfig -aDo you see your wlan? If not, start at top.

Add your wifi with:

nmtui-connectagain:
ifconfig -aNow it could be a good idea to tell the router to fix the ip addresses.
sudo shutdown now
remove power
connect USB-Sticks, Harddisks, whatever. Be aware to use HD (also the 2,5) with their own Power(!).

Repower your raspberry.

And now first time to go to the OMV Web Interface.
Point your browser to one of the ip addresses.
Login admin/openmediavault

“System”
Change Password and Hostname in “System”

“Storage”
Format (Physical disks) then add Disk (file systems) in “Storage”
Select and Mount your Disk (file systems).

“Access Right Management”
Add a user in “Access Right Management”.
Add folder(s) in “Access Right Management”.
In “shared folders” mark folder and “give privileges” to your user.

“Services”
“Settings” -> Enable in “SMB/CIFS”
“Shares” -> add your folder


OK, now it’s the time to test your new nas. Go to your PC or Mac (smb://…your..ip…) and give it a try.

Neuere deutsche Anleitung: https://www.heise.de/tipps-tricks/Raspberry-Pi-als-NAS-verwenden-so-geht-s-4289165.html

Raspberry Pi, OpenMediaVault, NAS, Wifi, WLAN, error

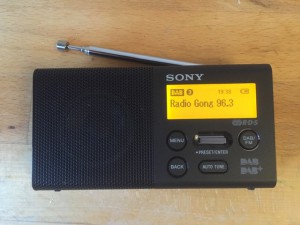
Sony Radio Review: Sony XDR-P1DBP Taschenradio (DAB/DAB+)

IMG_9793


Mein Autoradio für’s Radl und für den Garten. Ich habe die 3 möglichen Varianten durchgetestet: UKW Rad-Radio; Handy über Streaming und DAB+. Wirklich überzeugt hat nur das DAB+. Die beiden anderen Varianten hatten einfach zu häufig Störungen als dass es wirklich Spaß gemacht hätte. Das Testgebiet war in und um München. Befestigungen am Rad? Ich benutze  2 Varianten, im Lenkerfahrradkorb wenn der sowieso dran ist, oder in der Handyhalterung, mit der ich auch sehr zufrieden bin..

Zum Radio selber:  Ungefähr in Handygröße aber wesentlich tiefer. Für die Größe ein guter Klang, findet sehr viele Sender und hat 2 Möglichkeiten seine Lieblingssender abzuspeichern. Eingebauter Akku, über Micro-USB zu laden, gefälliges Design. Nicht billig, aber seinen Preis wert.

-> Empfehlung.


Pokémon GO Plus, Verbindung verloren

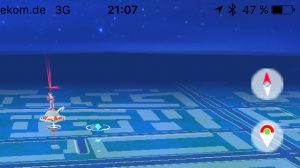
Dein Pokémon GO Plus funktioniert nicht mehr bzw. hat die Verbindung verloren? Das musste ich selber rausbekommen: Wenn man das Pokémon GO Plus zum ersten mal verbunden hat, findet man das Symbol im Kartenbildschirm. Was ich nirgends beschrieben fand: Ist das Symbol rot, ist alles ok. Ist es grau, wurde die Verbindung verloren. Was ist zu tun: Einfach auf das Symbol tippen und der Anleitung folgen, d.h nach dem Tippen den Knopf auf dem Pokémon GO Plus drücken. Danach solte es wieder verbinden. Bei mir tritt das öfters auf ..


Pokémon GO Plus, funktioniert nicht, Ärger, wie man wiederverbindet

Pokémon GO Plus, lost connection

Your Pokémon GO Plus doesn’t work anymore or lost connection? Had to figure this out by myself: After connection (found in instructions) you’ll find the Pokémon GO Plus Symbol in the map screen. Now: If it’s red, your Pokémon GO Plus is connected and works. If it is like greyed out, you lost connection. What to do? Tap on the Pokémon GO Plus Symbol in the map screen. You’ll receive instruction to push button on the Pokémon GO Plus. Voilà, it’s working again.


Pokémon GO Plus, not working, trouble, how to reconnect

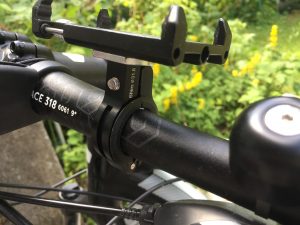
Aluminum Bike Phone Holder – short Test

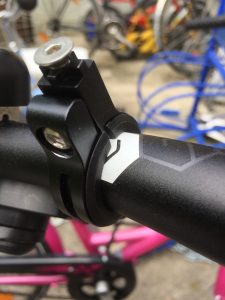
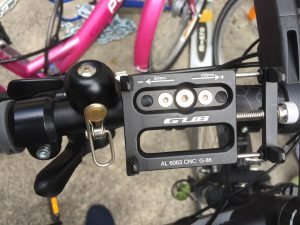
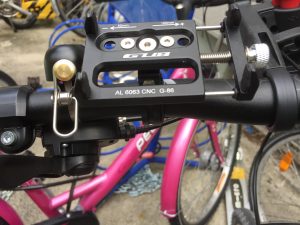
I recently bought Banggood: GUB G-86 CNC Aluminum Alloy Bicycle Bike Phone Holder Handbar…. (Or see below for Amazon). I had 3 rides since I mounted it on my cross bike, and my opinion till now is, that it is the best phone holder, which I ever had. Had a few problems by mounting it on my handle bar, but fixed that after 3 tries (see photo). I own a iPhone 6, having placed it in a case. The claws (don’t forget to use adhesive patches) hold it perfect, and it takes really just a part of the time to fix it than with the other holders before. – I recommend it