Ulanzi Smart Pixel Clock

Zu einem vernünftigen Preis zu haben ist die Ulanzi Pixel Clock, die hier https://www.mydealz.de/visit/threadbeldesc/2232719 oder über Ali zu bekommen ist und hier kurz vorgestellt wird Im verlinkten Beitrag sind die wichtigsten links bereits zu finden. Das geniale ist, dass es ein Projekt “Awtrix” gibt dass es einfach darüber geflasht wird und das Teil damit für so ziemlich alles öffnet.

Das mitgeliefert System habe ich gar nicht angeschaut und sofort Awtrix Light grflasht. Danach lässt sich das Teil über MQTT oder http oder ioBroker ansteuern. Da ich bereits ioBroker auf meiner Synology laufen habe, habe ich mich für dafür entschieden, und nach ein paar Anläufen lief das Teil.

Im Moment zeige ich den Stromverbrauch und die erzeugte Solarenergie an um z.B. hau entscheiden ob es Zeit ist die Spülmaschine o.ä. anzuwerfen.

Weiter werden die nächsten 3 Fahrten (und die Verspätungen dazu) nach München angezeigt.

Temperatur und Regenprognose folgen noch. Ebenso wie Warnhinweise auf offen gelassene Türen und Fenster.

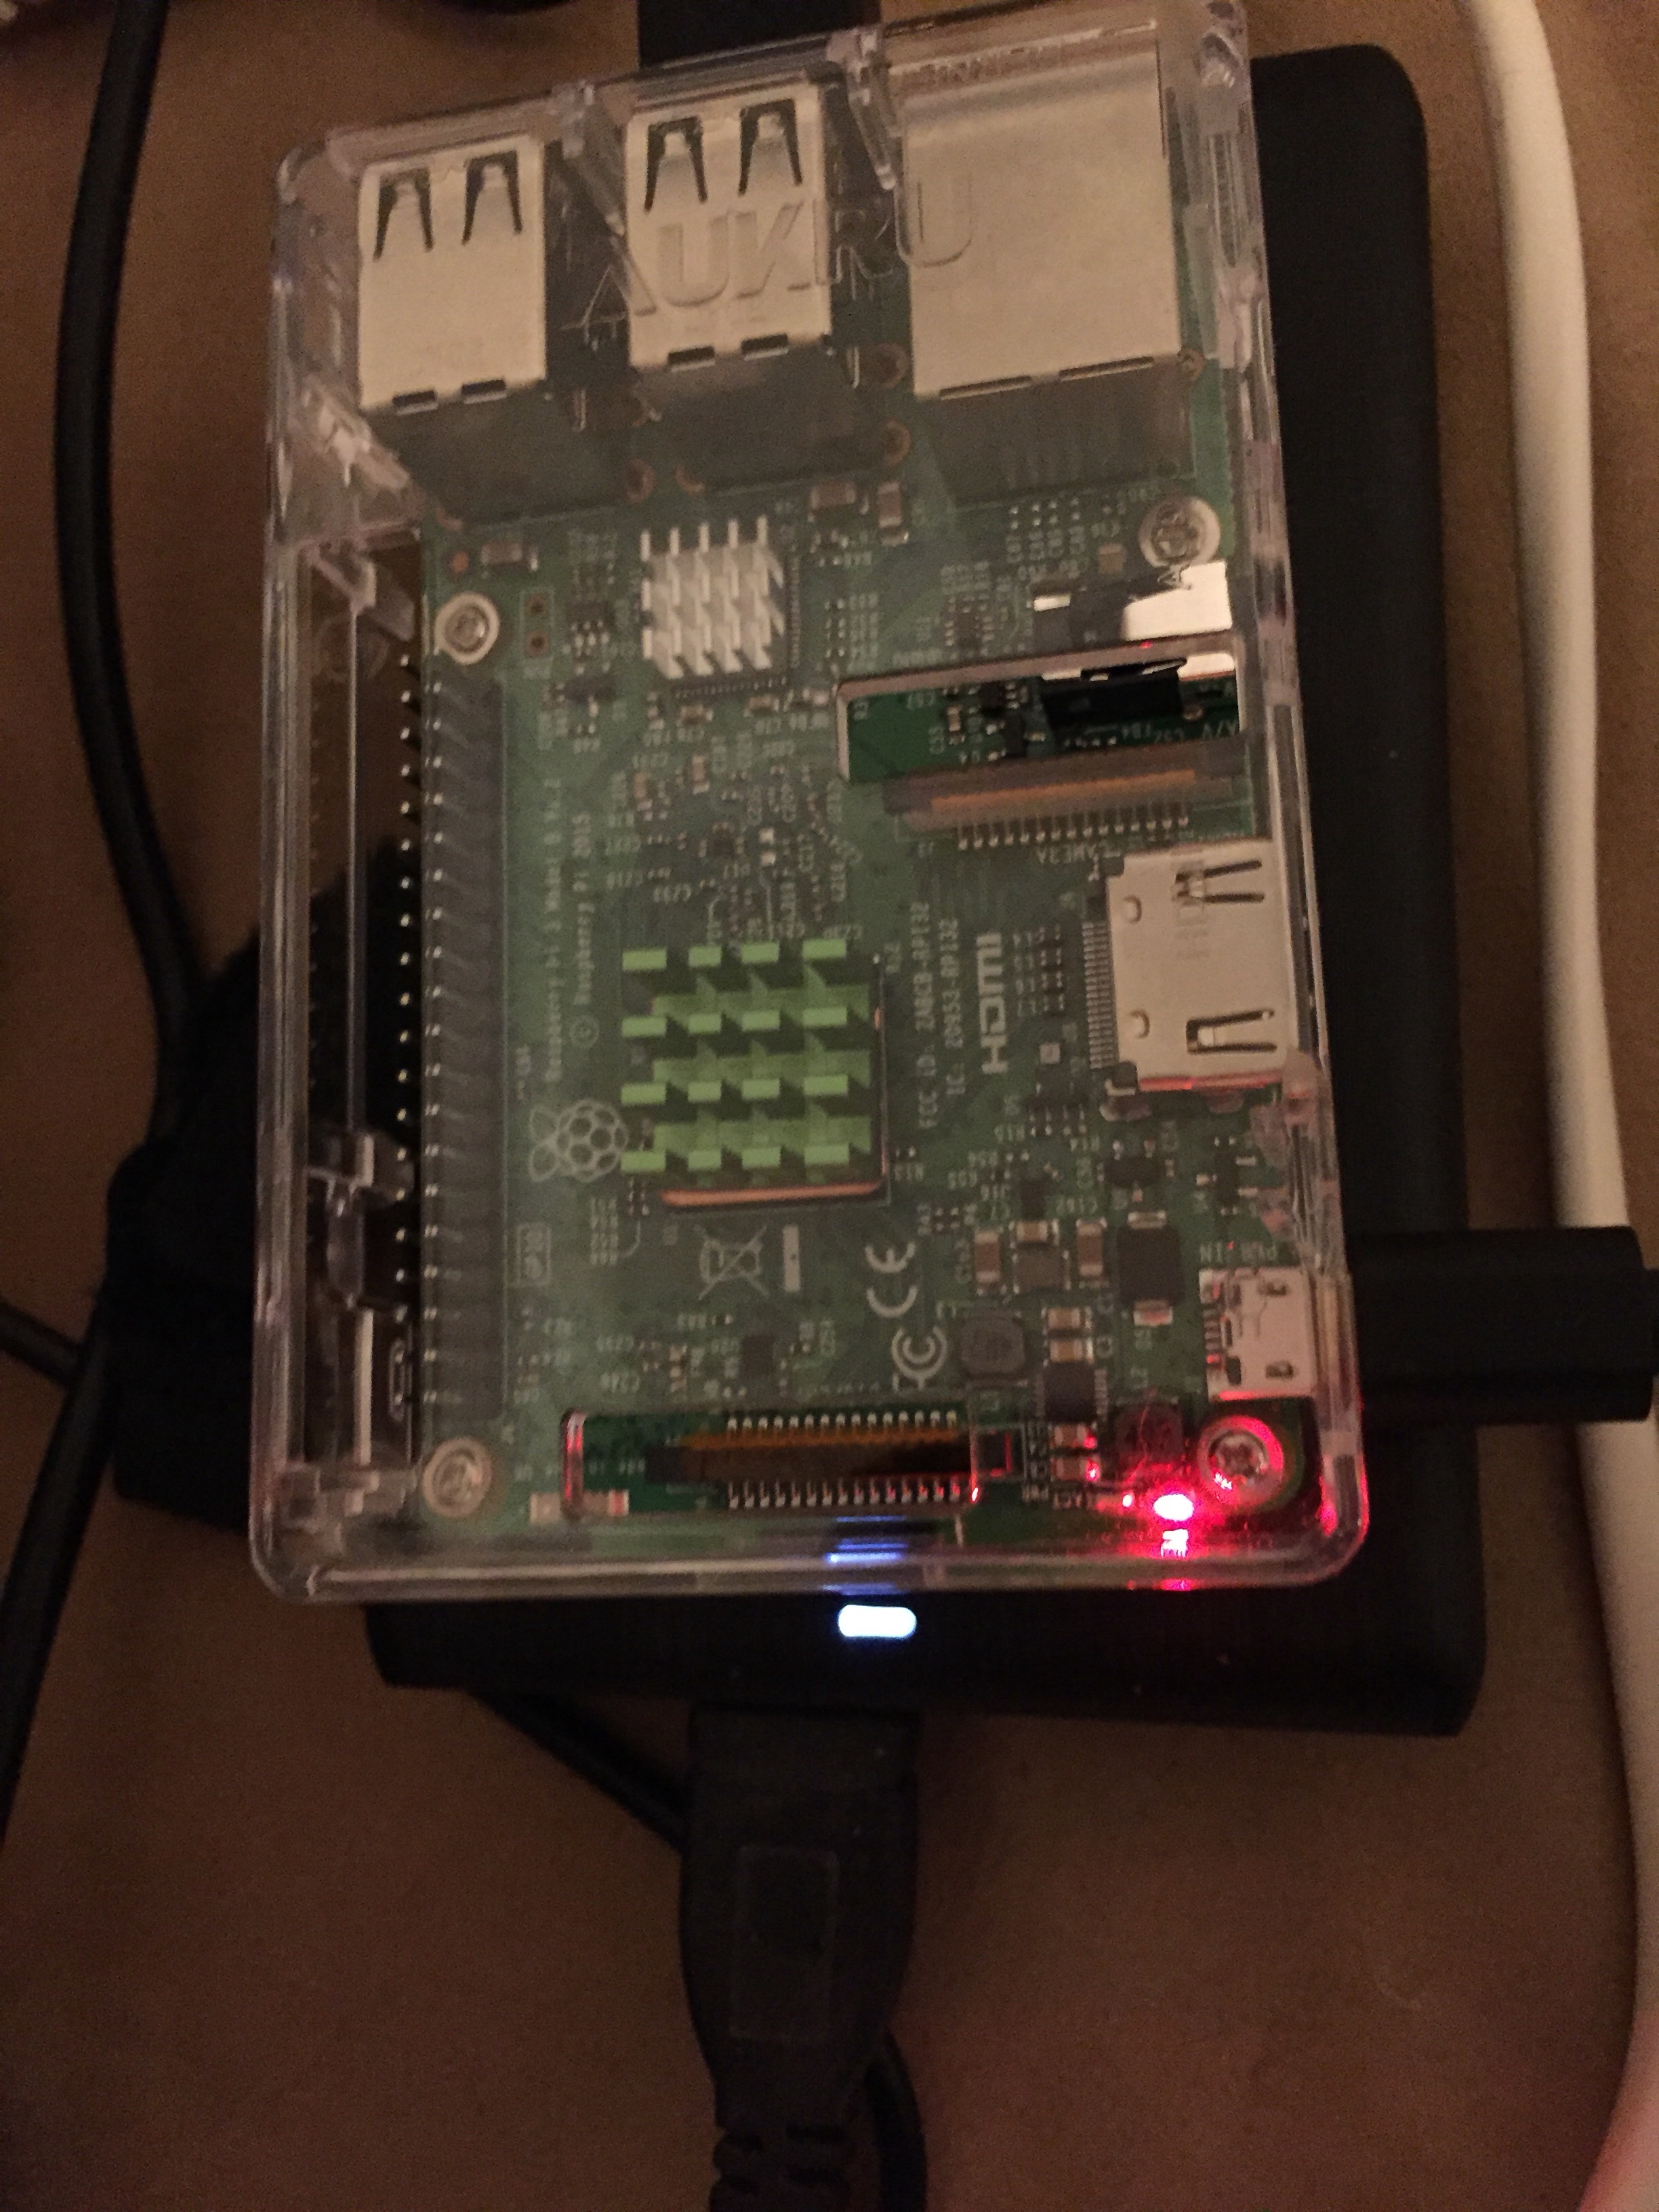
Raspberry Pi as NAS with OpenMediaVault and Wifi

Be warned, the Raspberry Pi with wlan is a slow nas. But I wanted to build one and there are no full instructions for it. So here are the steps to follow.

I used this instruction, but some things are missing and so I put everything down in short form:

Download the OMV Image here.

Use Etcher to flash it on SD card.

Insert card into raspberry, connect network cable. Wait (!) not only wait for the first time login, wait.. Raspberry upgrades in the background. Just do nothing(!) and wait more. About 10 to 40 min till the raspberry reboots again!

Now, login for the first time as root. Change Password.
Change Keyboard Layout if you don’t use english one:

dpkg-reconfigure keyboard-configurationcheck if your Wifi works:

ifconfig -aDo you see your wlan? If not, start at top.

Add your wifi with:

nmtui-connectagain:
ifconfig -aNow it could be a good idea to tell the router to fix the ip addresses.
sudo shutdown now
remove power
connect USB-Sticks, Harddisks, whatever. Be aware to use HD (also the 2,5) with their own Power(!).

Repower your raspberry.

And now first time to go to the OMV Web Interface.
Point your browser to one of the ip addresses.
Login admin/openmediavault

“System”
Change Password and Hostname in “System”

“Storage”
Format (Physical disks) then add Disk (file systems) in “Storage”
Select and Mount your Disk (file systems).

“Access Right Management”
Add a user in “Access Right Management”.
Add folder(s) in “Access Right Management”.
In “shared folders” mark folder and “give privileges” to your user.

“Services”
“Settings” -> Enable in “SMB/CIFS”
“Shares” -> add your folder


OK, now it’s the time to test your new nas. Go to your PC or Mac (smb://…your..ip…) and give it a try.

Neuere deutsche Anleitung: https://www.heise.de/tipps-tricks/Raspberry-Pi-als-NAS-verwenden-so-geht-s-4289165.html

Raspberry Pi, OpenMediaVault, NAS, Wifi, WLAN, error

X-MAS Special – Was ein Geek alles braucht

X-MAS Special – Was ein Geek alles braucht

Weihnachten steht vor der Tür, deshalb heute ein Special was ein geek unbedingt braucht:

PC, Smartphone und Pad: Laufen als Grundausstattung, deshalb keine Deatillierung hier.

NAS (Network Attached Server):  Mit minimalen Stromverbrauch und einfacher Bedienung kann das mittlerweile (fast) jeder bedienen. Geliefert wird meist ein leeres Gehäuse, Festplatte(n) einbauen, ans Netz hängen, installieren und los geht’s. Was kann so ein NAS? Netzwerklaufwerke bereitstellen und Datensicherung ist der Grundumfang. Da ein Linux draufläuft und eine einfache Bedienoberfläche (über Browser) vorhanden ist hat man in Windeseile zusätzlich z.B. eine Homepage, ein Blog, ein Fotoverzeichnis, VPN oder einen WordPressblog eingerichtet. Bei Synology (welches ich habe) gibt es zusätzlich noch die Cloud Station, eine private DropBox. Die Hersteller unterscheiden sich vor allem durch die mitgelieferte Software -> wichtiger als Hardware Specs!

Raspberry PI: Scheckkartengroßer Mini PC. Das Betriebssystem, ein angepasstes Linux, liegt auf einer SD Karte. Vorteil: Durch Wechsel der SD-Karte hat man unterschiedliche Konfigurationen zur Hand. Die 2 gebräuchlichsten XMBC und Raspbian. Mit XMBC hat man ein Mediencenter zum Anschluss an den Heim TV. Raspbian ein (abgespecktes) Linux mit Fensteroberfläche, zum wilden UNIX testen, besser aber das ganze Remote zu steuern. Bei mir tut einer seinen Dienst als Flur Monitor mit Wetter und News Anzeige. Ein weiteres Projekt wäre der Selbstbau eines Internetradios.

Apple TV: Wer einfach Video on demand haben möchte, gönne sich ein Apple TV. Vieles geht auch mit dem Raspberry PI, aber einfacher und bequemer ist das Apple Teil. Wenn man sowies schon Produkte dieser Firma daheim hat, sowieso schon fast ein muss. Funktioniert einfach.

Arduino: Ein Microcontroller zum einfachen Basteln. Über USB angeschlossen ermöglicht er einfache Programmierung mittels c. Nach dem Herantasten mit ein paar Leuchtdioden kann man schnell größere Projekte realisieren. Wer keine Lust auf Löten hat, besorge sich ein Steckverbinder Set, z.B. Grove von Seedstudio.

Ferngelenkte Modelle: Die Zeiten des Selberbastelns vom Fernlenkmodellen geht vorbei. Populär sind RTR (ready to run) oder RTF (ready to fly) Modelle. Ich rate von den billig Produkten ab, da ist es Glücksache wenn man etwas gutes erwischt. Für Fahrzeuge ist z.B. Traxxas ein empfehlenswerter Hersteller bei Hubschraubern und Quadcopter empfehle ich Blade.

Unten stehen sind die tags verlinkt, wer mehr zu einem Thema wissen möchte. have fun.

WordPress on Synology NAS

Solved problem with DYNDNS, links and pictures:

As others did, I got the problem that WordPress worked well inside the lan, but was not reachable from the outside world. Second problem was that the pictures where not showing up. Here are the instructions to fix that.

  1. Be sure that your NAS can be reached from the internet and your web station is up and running.
  2. Get mySQL up and running.
  3. Install phpMyAdmin
  4. Install WordPress
  5. As I couldn’t change URL (to eiseler.synology.me) in the WordPress settings, I followed: how to change url directly in he database
  6. As I found out, this doesn’t change the internal links to pictures and media. Install Update URLs and change the URLs from internal ips to dyndns.
  7. When adding new pictures I change the “Link URL” when adding them

(Keywords: Problem with synology NAS, wordpress, dyndns, links and pictures from internet)